Take a contactless payment with Barclaycard Anywhere

Contactless is the fastest growing way of paying and customers can now use contactless in lots of ways, using a card and other contactless devices.
From time to time, Anywhere will request a PIN or Swipe instead of contactless. This is an added fraud protection measure for multiple or unusual card use.
Remember, you won’t be able to use Barclaycard Anywhere unless your phone or tablet is connected to wi-fi or a mobile data connection – ie GPRS/3G/4G.

1. Log in
Log in to the app using your username (email) and password.
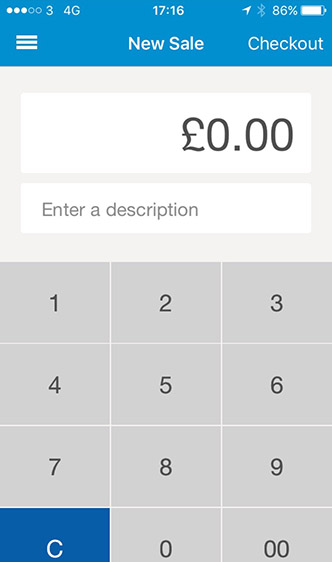
2. New Sale screen
Once you’ve logged in, the app automatically displays the New Sale screen. If you’ve just processed a sale, the app automatically returns to the New Sale screen.
To open the New Sale screen from elsewhere in the app, open the left hand menu – by tapping the three horizontal lines in the top left of the screen – and select New Sale.
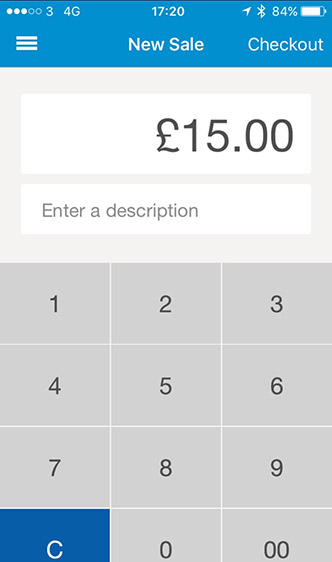
3. Enter information
Enter the amount of the sale and, if you want to, a description of the sale. Then press the Checkout button in the top right hand corner of the screen.
If you add a description, it will be shown on your customer’s email receipt and in your online transaction history.
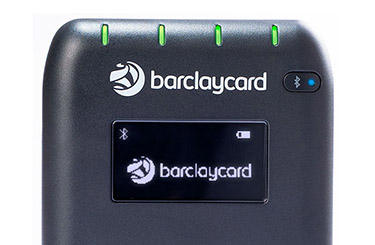
4. Check the app
Your card reader should wake up when you press Checkout, but don’t worry if it doesn’t – just press the blue power button once.
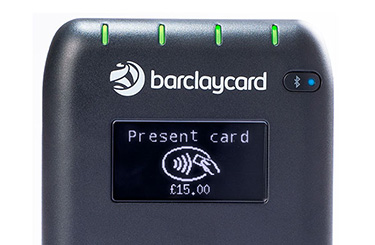
5. Give the card reader to your customer
The app will normally display the amount and the instruction ‘Present card’.
Sometimes it will display ‘Insert or swipe card’. If it does, check our instructions for making a chip and PIN sale.
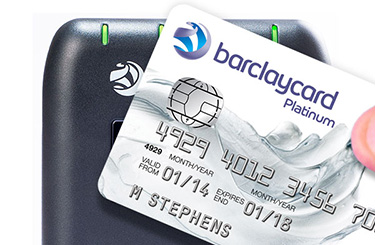
6. Customer presents their card
Your customer holds their payment card against the screen of the card reader.
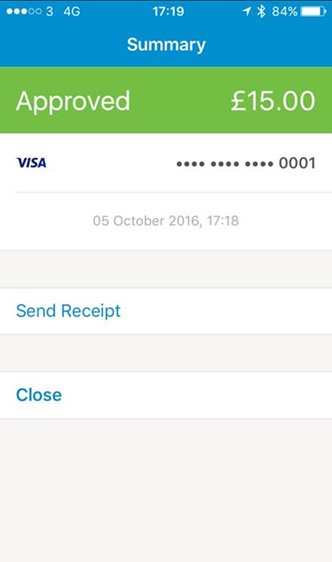
7. Wait for approval
If the transaction is approved, the app will display a large green Approved banner across the top of the screen. Below that will be two buttons – ‘Send Receipt’ and ‘Close’.
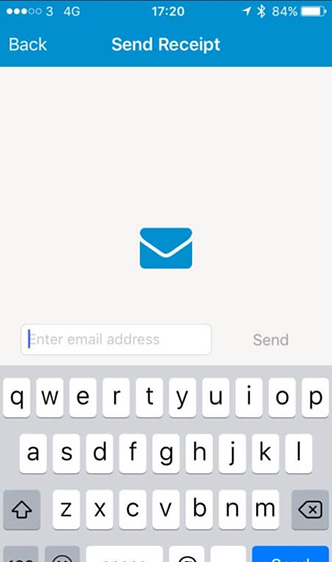
8. Issue a receipt
If your customer would like a receipt, hit the ‘Send receipt’ button. The app will prompt you to enter the customer’s email address. Hit ‘Send’.